Starting with Python
Python, Anaconda, Conda,virtual environment, Positron, experimental psychology, tutorial, installation, DevStart, developmental science
Python is one of the most popular programming languages in general. In data science, it competes with Matlab and R for first place on the podium.
In our everyday we often use python to pre-process and analyze the data. In this tutorial we will explain our preferred way of installing python and managing its libraries. There are several ways to install python, this is the one we recommend for its simplicity and flexibility.
We strongly recommend using our interactive flowchart to guide yourself through the tutorials! It will help you follow the setup steps in the right order based on your experience level.
Flowchart
Installing Python
Miniconda
Miniconda is our favorite way to install Python, and for good reason! While you’ve probably heard of Anaconda – that feature-packed GUI many folks use to manage Python, packages, and environments – Miniconda is its sleek, lightweight counterpart.
What makes Miniconda special? It skips all the extra GUI elements and pre-installed packages that come with Anaconda. The result? A much lighter installation that doesn’t weigh down your system! With Miniconda, you get just the essentials: Conda, Python, and a few critical dependencies. This minimal setup gives you greater control over what gets installed, keeping everything lean and efficient. Plus, it includes the default Conda package manager and channels, so you still have full access to the official Conda repository for all your package needs.
To use Miniconda download the installer from Miniconda (remember to scroll down under Anaconda)
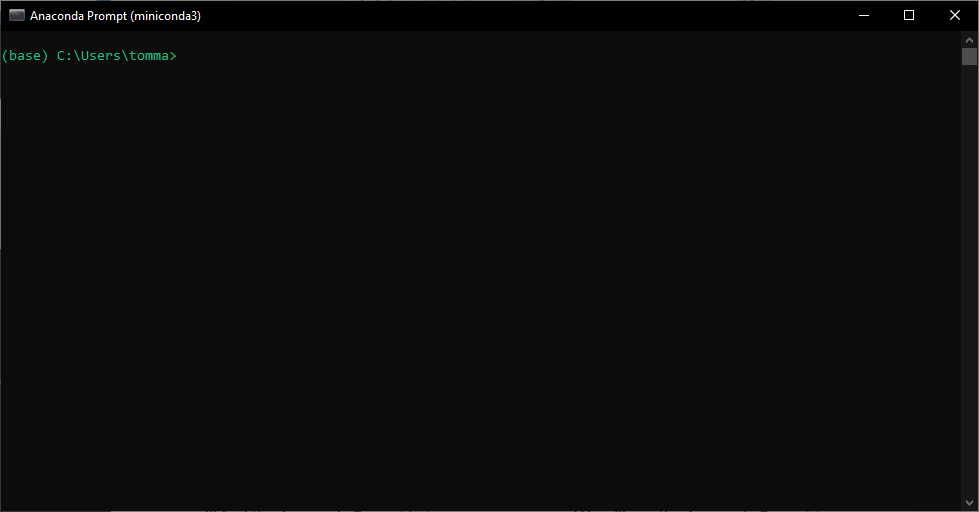
The installation process is similar to that of Anaconda. Once the installation is complete, you will find the Anaconda Prompt among your programs. This prompt serves as your interface for installing Python packages and creating environments. To verify everything’s working properly, simply type conda. You’ll be greeted with a comprehensive list of available conda commands ready for you to explore and use (we will see below how to do so).
To use Miniconda download the installer from Miniconda (remember to scroll down under Anaconda)
⚠️ Important
Please make sure that you select the correct version for your system!!! Select the version depending if you have Apple Silicon or an Intel processor.
Once the installation is complete, you’ll have the full power of Miniconda at your fingertips through your terminal! To verify everything’s working properly, simply open your terminal and type conda. You’ll be greeted with a comprehensive list of available conda commands ready for you to explore and use (we will see below how to do so).
Managing environments
Python has different versions, and so do all the packages you install (like PsychoPy, numpy, pandas, etc.). Here’s the problem: different projects often need different versions of the same tools.Project A might need Python 3.9 with PsychoPy version 2022.1, while Project B might need Python 3.11 with PsychoPy version 2023.2, and your system analysis scripts might work best with the latest versions of everything.
Virtual environments create separate “sandboxes” for each project. Each sandbox has its own Python version and package versions, completely isolated from the others. You can switch between these environments easily, ensuring each project gets exactly what it needs without conflicts.
Without virtual environments, installing new packages can break your existing projects. It’s like trying to run Windows 95 software on Windows 11 – things get messy fast.
One of the best features of Miniconda is how easily you can create and manage environments. Conda lets you create, export, list, remove, and update environments with different Python versions and packages. Let’s create an environment called working that we’ll use for our everyday tasks and let’s make sure to have python in it.
To do this, open the Anaconda Prompt and type:
conda create --name working pythonPress y when asked and after few seconds we will have out new working environment. Now we want to tell our Anaconda prompt that we want to work on our brand new working environment. To do so let’s write:
conda activate workingTo do this, open your terminal and type:
conda create --name working pythonPress y when asked and after few seconds we will have out new working environment. Now we want to tell our Anaconda prompt that we want to work on our brand new working environment. To do so let’s write:
conda activate workingYou’ll notice that the name on the left side of the command prompt has changed from base to working. This indicates that everything you do in the Anaconda Prompt now will apply to the working environment.
Now we would probably want to install some packages in this new environment. Follow the tutorials
When you install Anaconda or Miniconda, you get a default environment called base. This contains the essential tools that make conda work properly. It is recommended to avoid installing packages in the base environment - always create new environments for your work.
Installing python packages
To pre-process and analyze the data we will need some specific packages. It is easy to install and manage packages using conda.
We will use the command conda install … and a list of packages. Here we will install pandas (a package to handle dataframes), numpy (library to manage arrays), matplotlib and seaborn (two libraries to plot data).
To do so:
Open the Anaconda prompt and type :
conda install pandas numpy matplotlib seabornAfter thinking about for few seconds the prompt will download the package and its dependencies.
Occasionally, conda may encounter difficulties locating the precise package you need. In such cases, pip, another renowned Python package manager, can come to the rescue. You might already be aware of pip, versatility for installing and manage packages in Python.
Let’s consider I2MC, an exceptional package processing eye-tracking data. With pip, installation is a breeze. Simply use the following command:
pip install I2MC ipykernelOpen your terminal and type :
conda install pandas numpy matplotlib seabornAfter thinking about for few seconds the prompt will download the package and its dependencies.
Occasionally, conda may encounter difficulties locating the precise package you need. In such cases, pip, another renowned Python package manager, can come to the rescue. You might already be aware of pip, versatility for installing and manage packages in Python.
Let’s consider I2MC, an exceptional package processing eye-tracking data. With pip, installation is a breeze. Simply use the following command:
pip install I2MC ipykernelWe may use additional packages in specific tutorials, but don’t worry – we’ll always mention which ones you need and provide clear installation instructions when the time comes!
Installing Positron IDE
Now that we have our environment and packages set up, how do we actually use them? Sure, we could type Python commands directly in the terminal… but let’s be honest, that would be tedious and inefficient for any serious work!
What we need is an IDE – and our choice is Positron! Positron is a powerful scientific IDE (a fork of Vs Code for the nerds out there) built specifically for scientists, engineers, and data analysts. With features like variable exploration, integrated plotting, and excellent debugging tools, it’s perfect for writing and running Python code efficiently.
And here’s one of its standout features: it runs both Python and R! Yep, two of the most popular languages for data science!!
Installing Positron is straightforward:
Go to the Positron website
Follow the instructions and download Positron for your operating system
Run the installer and follow the on-screen instructions
Once installed, you can launch Positron. Here it is in all its glory:
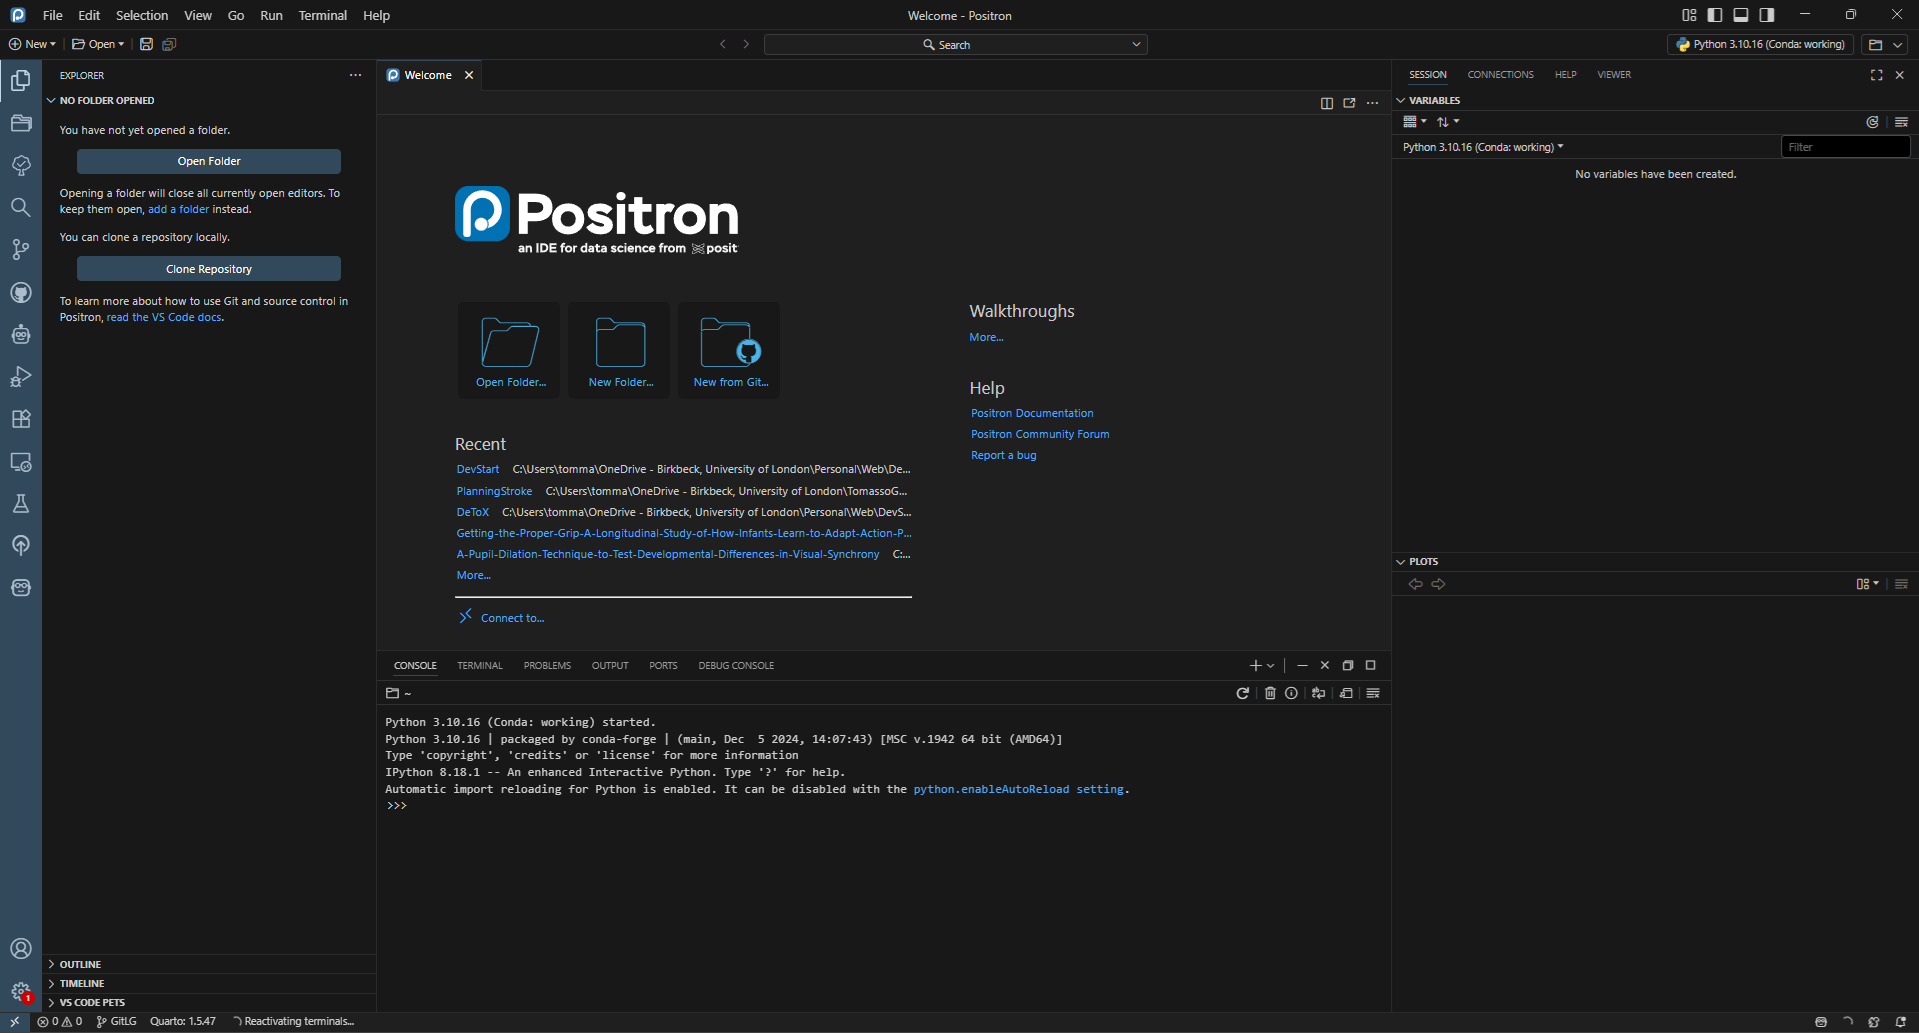
The first time you launch Positron, you’ll see a “Start Session” button in the top-right corner. (If it’s not your first time, you’ll instead see a button showing which environment you’re currently using.)
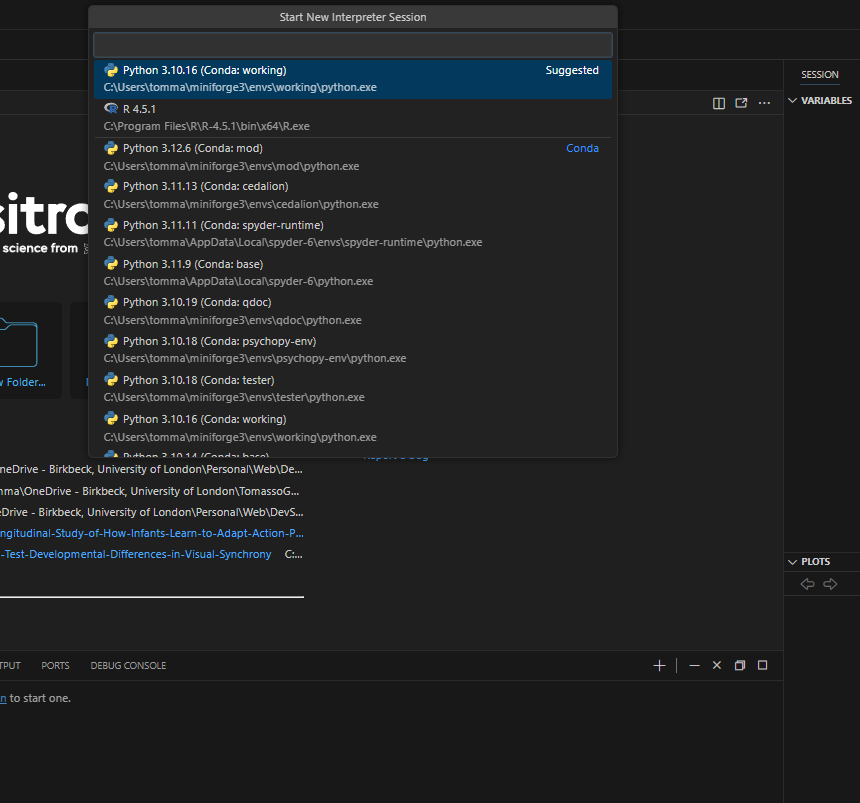
Click it—and voilà!—you’ll get a list of all your Python environments plus any available R interpreter. Pretty neat, right?
Just pick the one you want to work in (for example, your working environment), and the console at the bottom will instantly switch to that setup. From that moment on, any code you run in Positron will use the exact Python version and packages installed in the environment you selected.
That’s it—now any code you run will execute within the environment you selected. Well done!
Final Step: Installing the H5Web Extension
Since we’ll be working with HDF5 files throughout this tutorial, we recommend installing a helpful extension. Extensions are add-ons that enhance your environment with additional features and functionality.
We suggest installing H5Web, which allows you to preview HDF5 file contents directly in Positron without writing any code.
Click the Extensions icon
 in the primary sidebar (typically on the left side of VS Code)
Search for “H5Web”
Click Install
That’s it—you’re all set!