Starting with PsychoPy
PsychoPy, Python, experimental psychology, tutorial, installation, DevStart, developmental science, Spyder ide, Positron
PsychoPy is an open-source software package written in the Python programming language primarily for use in neuroscience and experimental psychology research. It’s one of our favorite ways to create experiments and we will use it through our tutorials.
So, let’s start and install PsychoPy!!!
Install PsychoPy
As reported on the PsychoPy website, there are multiple ways to install PsychoPy. Our favorite way to install it is using conda (refer to the Getting started with python).
This installation method offers several advantages: you are not restricted to using the PsychoPy GUI, and you can easily add libraries to enhance PsychoPy’s functionality. However, this process can sometimes be challenging, as compatibility issues with certain packages may require troubleshooting. Here, we provide some tips to help you make it work. If you find this method too complex or encounter persistent issues, remember that you can always follow the tutorials on this site using the PsychoPy standalone installer, which provides a secure and reliable way to use PsychoPy.
We strongly recommend using our interactive flowchart to guide yourself through the tutorials! It will help you follow the setup steps in the right order based on your experience level.
Flowchart
Miniconda
We recommend installing PsychoPy in a dedicated virtual environment where you can create and run your studies. To ensure optimal performance and avoid compatibility issues, keep this environment as clean as possible. Ideally, install PsychoPy and only the additional libraries required for your study.
Open your anaconda terminal and create a new environment:
conda create -n psychopy python=3.10Conda will ask you to confirm with a y and will create a new environment called psychopy.
Conda will also tell you that if you want to interact and install packages in the newly created environment, you should activate it. Let’s do it!!! Type:
conda activate psychpyYou’ll see that the parenthesis at the command line will change from (base) to (psychopy). This means we are in!!! Now we can install any package and those packages will be contained in this new environment.
As mentioned before, we will use PsychoPy to create our experimental design!! So let’s install it (and also let’s install DeToX, our package to run eye-tracking studies). Type:
pip install psychopy dvst-detox ipykernelConda will think and download stuff for a while!! Do not worry if you see a lot of lines popping up! Give conda time and confirm if prompted. After a while, hopefully you will see that everything went well and now you have a nice psychopy environment with PsychoPy in it!!
To create a new environment open your terminal and type:
conda create -n psychopy python=3.10Conda will ask you to confirm with a y and will create a new environment called psychopy.
Conda will also tell you that if you want to interact and install packages in the newly created environment, you should activate it. Let’s do it!!! Type:
conda activate psychpyYou’ll see that the parenthesis at the command line will change from (base) to (psychopy). This means we are in!!! Now we can install any package and those packages will be contained in this new environment.
As mentioned before, we will use PsychoPy to create our experimental design!! So let’s install it (and also let’s install DeToX, our package to run eye-tracking studies). Type:
pip install psychopy dvst-detox ipykernelConda will think and download stuff for a while!! Do not worry if you see a lot of lines popping up! Give conda time and confirm if prompted. After a while, hopefully you will see that everything went well and now you have a nice psychopy environment with PsychoPy in it!!
Psychopy Standalone
Installing PsychoPy as a library sometimes can be tricky as it depends a lot on which OS you are on, which hardware that OS has, and a lot of dependencies. While we prefer to install PsychoPy as a library and use it through Spyder, it is not always possible.
However, there is a simple solution. PsychoPy offers a standalone version. This version comes packaged with everything that is needed to run your experiments and includes the PsychoPy GUI.
It is usually easier and less error-prone, but it offers less flexibility in some aspects. However, for this study it will be plenty enough! So in case you had any problem installing PsychoPy in a separate environment, we suggest you install it as a standalone.
You can find it herse. Please download and install it following your operating system guidelines!
Well done!! Now you should have the PsychoPy icon  on your machine!!
FYI! It’s important to note that PsychoPy offers two main ways to create experiments:
The Builder: Ideal for those who prefer a graphical, point-and-click interface.
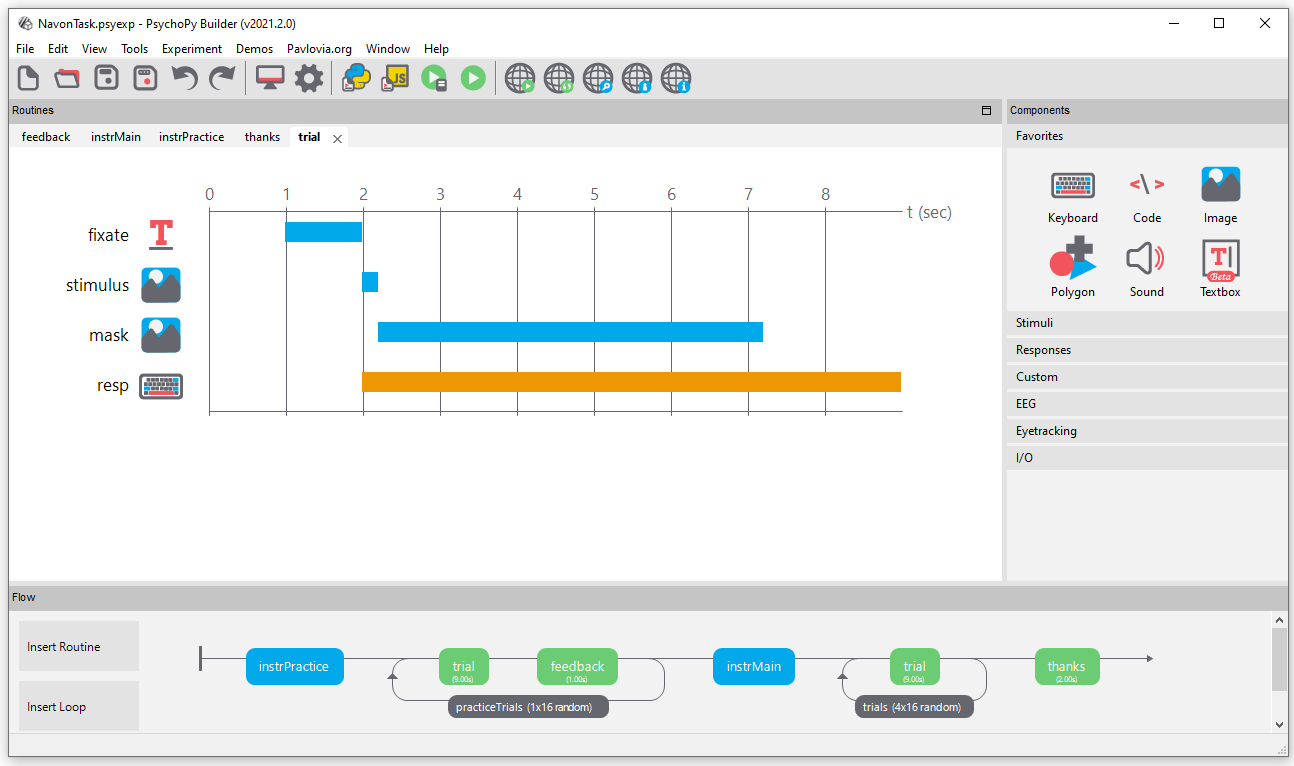
The Coder: Designed for users who prefer to program their experiments from scratch.
In our tutorials, we will focus on coding experiments directly. If you’re using the PsychoPy standalone installer, you’ll need to follow along using the Coder interface:
Install DeToX PsychoPy doesn’t include DeToX by default, so we’ll need to install it separately. The easiest way is through PsychoPy’s built-in package manager:
Open PsychoPy
Switch to Coder View (the interface with the code editor)
Open the Tools menu
Select “Plugins/package manager…”
Click on the “Packages” tab at the top
Click the “Open PIP terminal” button
In the terminal, type:
install dvst-detoxPress Enter and wait for the installation to complete
That’s it! You now have both PsychoPy and DeToX installed and ready to use for your eye-tracking studies..
Check Psychopy Installation
As Psychopy can be tricky to install we suggest to do a small check of its working even if it looked like the installation worked perfectly. We ask you to check whether Psychopy worked by simply running a small code in your Psychopy in both cases whether you installed as library or as a standalone software. This won’t only test your Psychopy installation but also give you a taste on how to interact with Positron and Psychopy
Here you can find the script to run:
To do so:
open Positron
Create a new console in the psychopy environment we created before:
Select interpreter –> Conda: psychopy
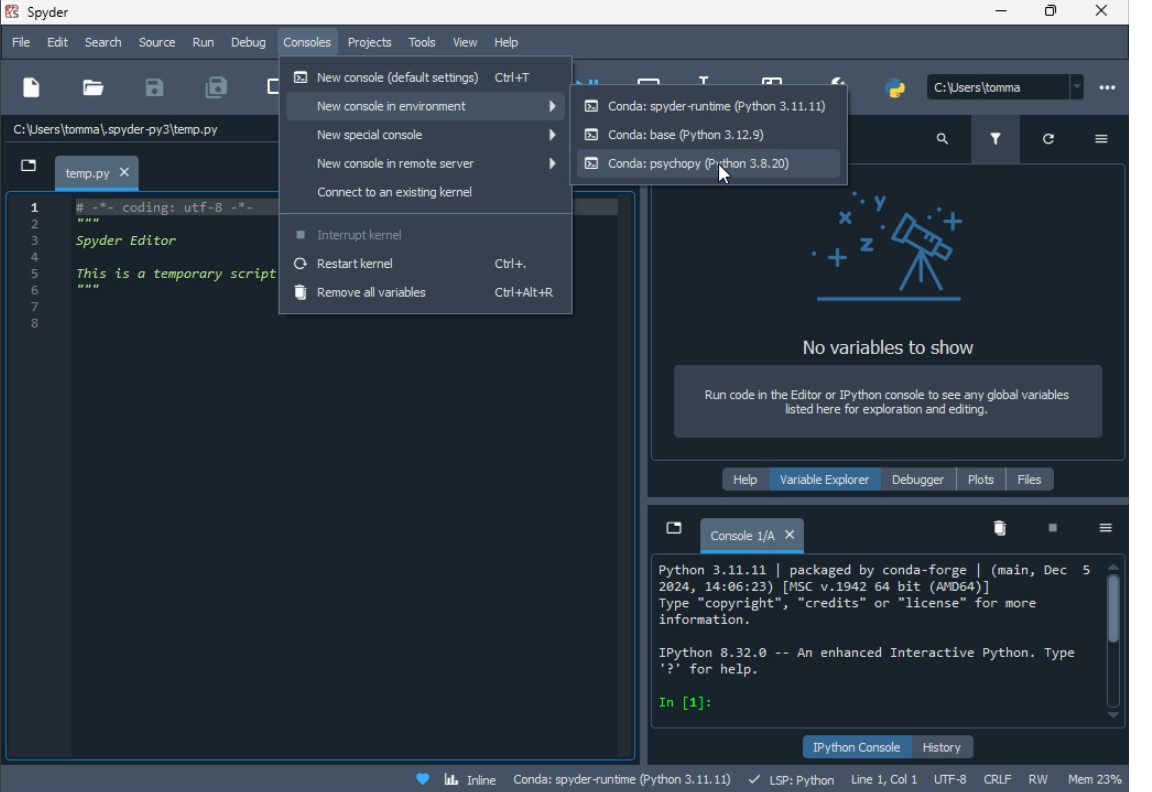
Open the script you just downloaded (
TestInstallatioPsychopy.py) in Positron ( use the open Icon or drag and drop the file on Positron)Press the play button on the left top corner.
A window should appear and show a short countdown at the end of which it will tell you that you are ready for the workshop!
Well done!!
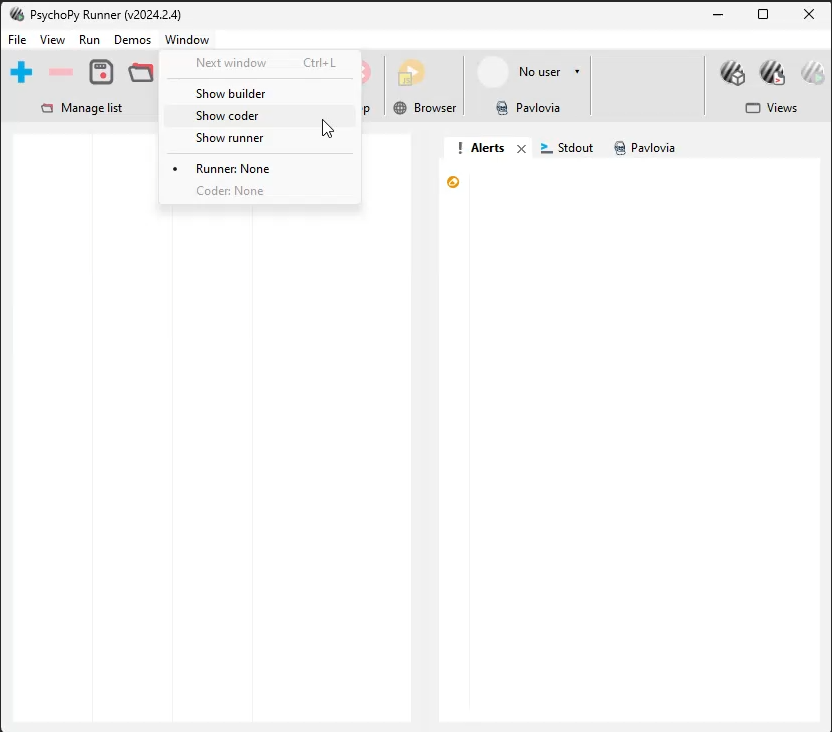
Open Psychopy
In Window select Show coder
Opend the downloaded file (
TestInstallatioPsychopy.py) using the open buttonPress the green play button
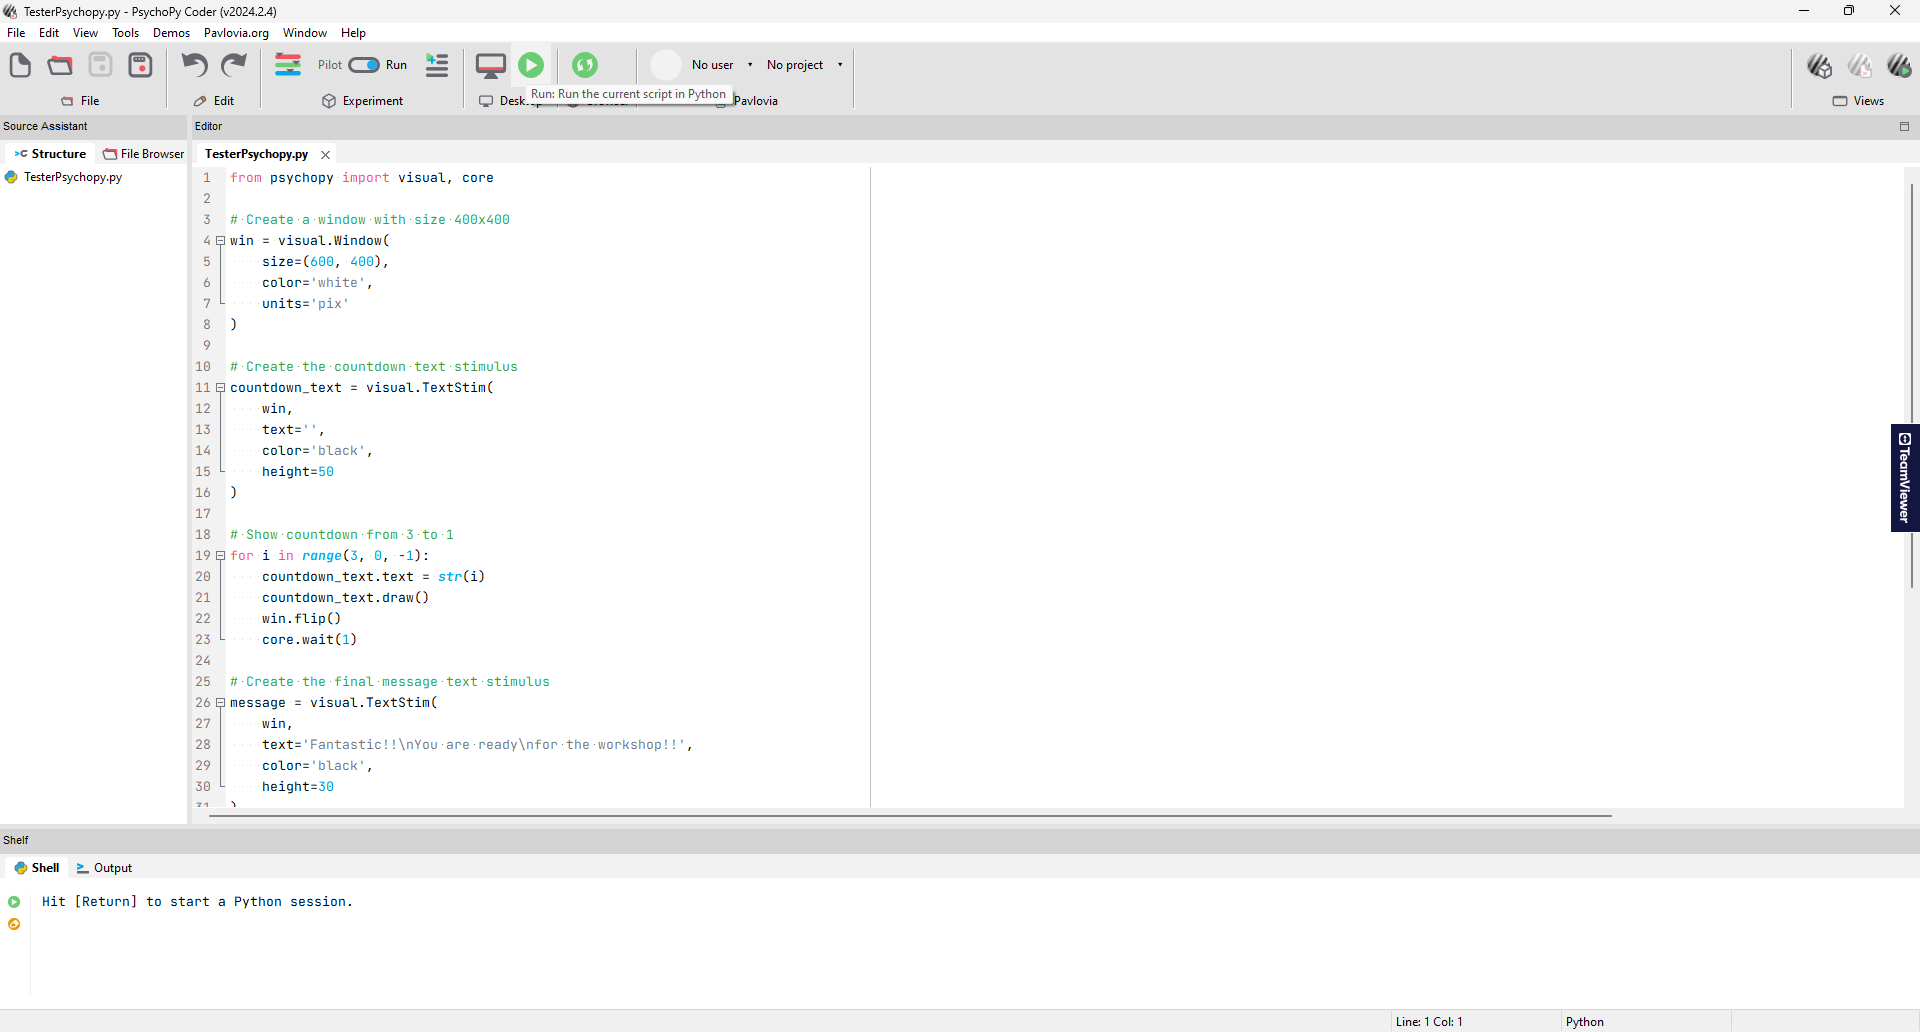
A window should appear and show a short countdown at the end of which it will tell you that you are ready for the workshop!
Well done!!